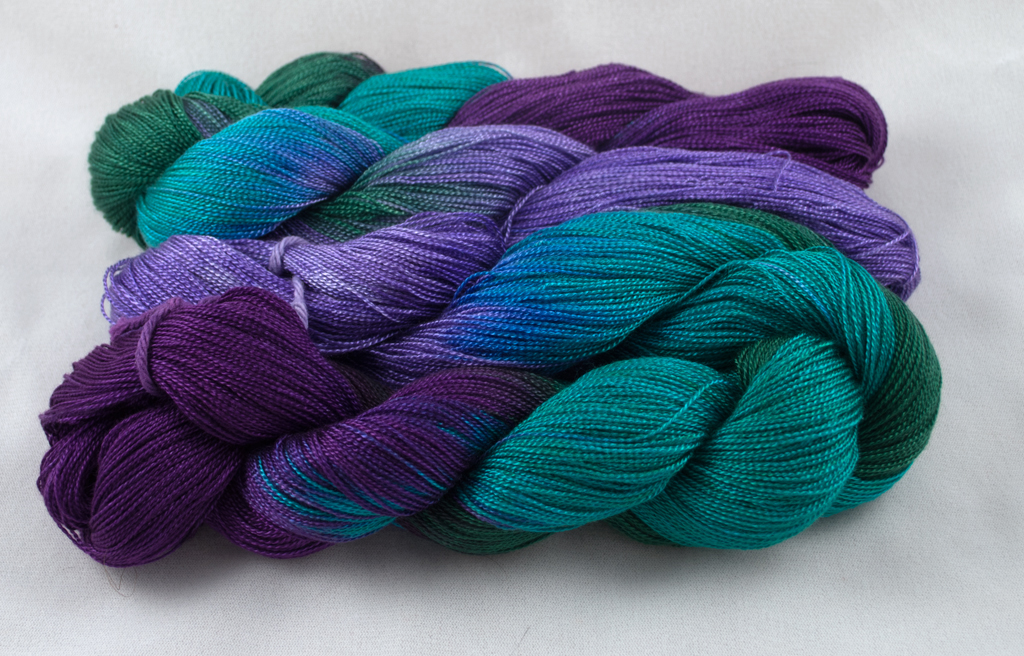
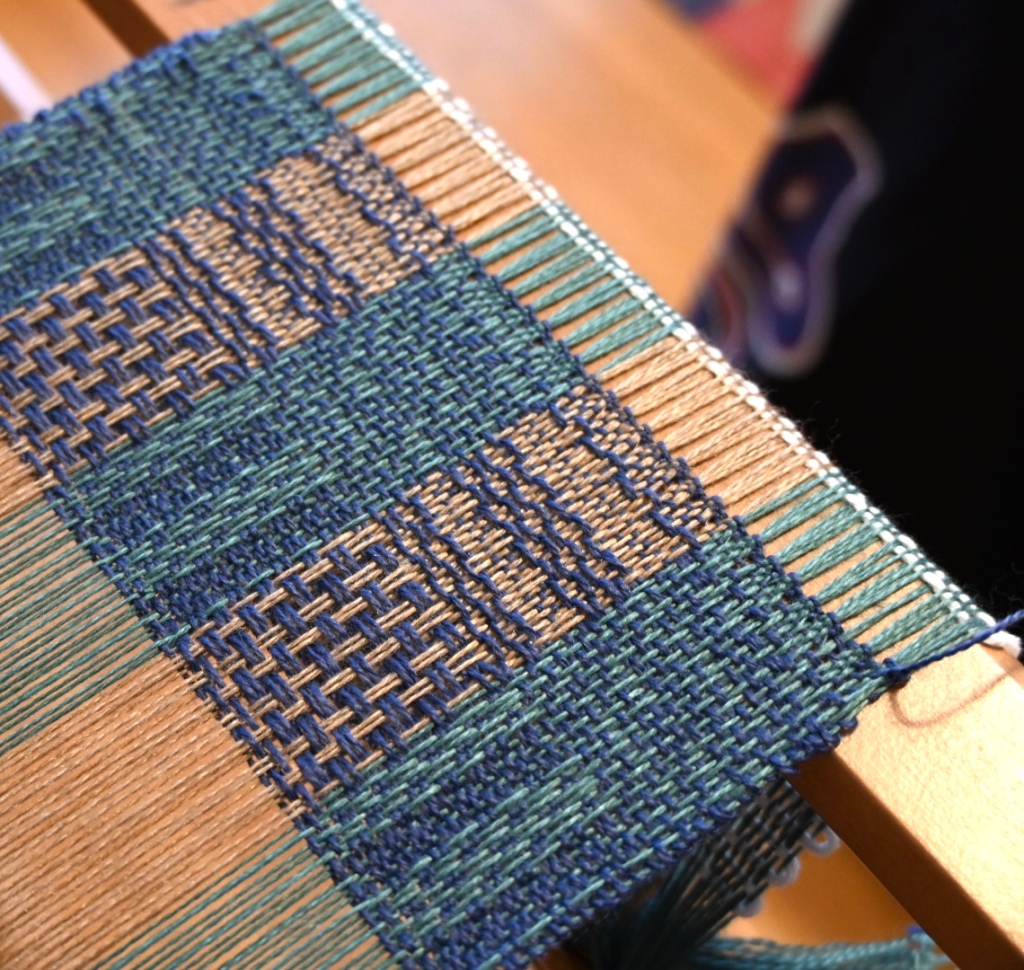
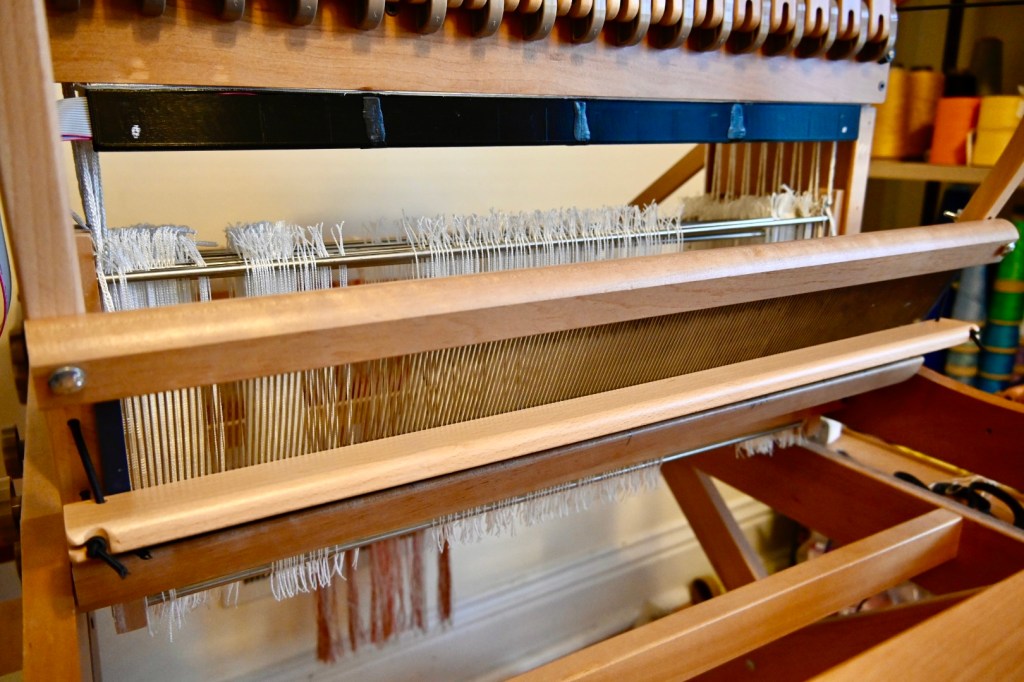
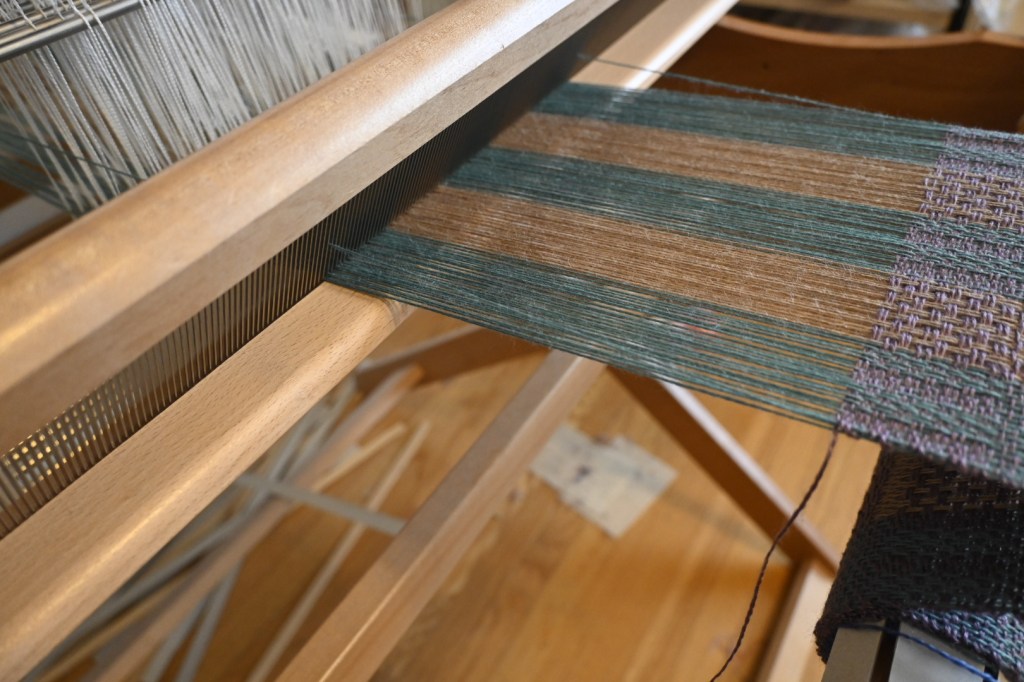
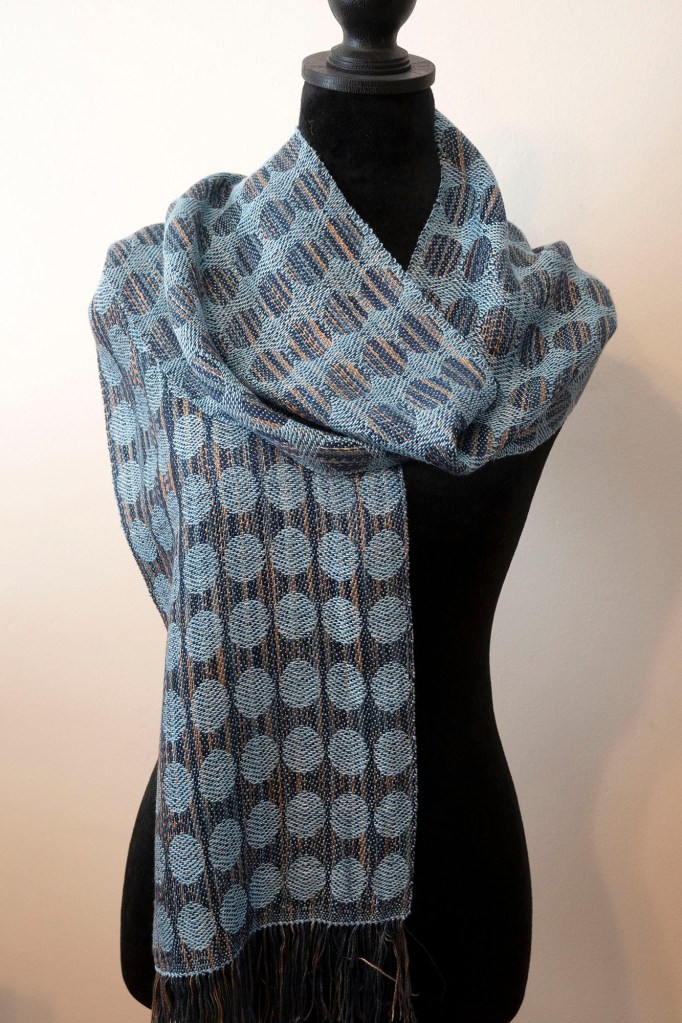
What’s On the Loom?

It’s been a while since I’ve shared what’s on the loom, but then again it’s been a while since I’ve actually had something on the loom. This piece is a scarf in Diversified Plain Weave, a technique that I’ve worked with before.

I published two scarves in Handwoven Magazine, one in May/June 2012 and one in May/June 2013, using Diversified Plain Weave (look them up!) One of the scarves was a circles scarf, and I thought I would like to rework that design into rows of offset circles. And this is what I came up with.

I used 20/2 cotton for the ground warp and tabby weft, and 1450 ypp rayon chenille for the pattern warp and weft.

I’ve finished these scarves and am now planning another warp that I may use as a basis for a pattern for my Etsy shop.

Stay tuned!

A Much Needed Addition

My Ashford Table Loom is a joy to use and I really should weave on it more. I do try, and right now I’ve got an interesting warp on it. This is an 8 shaft Amalgamation draft, #79686, from handweaving.net.

I am using 2/10 merino/tencel, Colrain Lace, sett at 20 epi. I am enjoying the weaving, but just finding the time to devote to it has been a challenge.

However, the real reason I am writing this is to report on the new Ashford Shuttle Race attachment that has just become available as an add-on to their looms. It is fantastic! Before I bought it, weaving was a little fraught, I was always nervous that my shuttle might miss a warp or two on the way back and forth. Finding those errors (on the back!) was really annoying. I am hoping that the shuttle race, providing a solid base on which to slide the shuttle, will minimize any future bloopers.

This is what it looks like in place attached to the beater.

This is what it looks like with the warp in place. Sending greetings from snowy Louisville!

Scarf Sale and Bundle Special!

Just a short post to let y’all know that I’m running a 25% off sale on my Merino/Tencel scarves in my Etsy Shop (see link on the right side of this page). This sale will go till December 13, so please visit and check it out!

Also, I’m bundling my Handpanted Tencel yarns and (separately) my Rhythm Crackle patterns for 10% discounts. This will go on indefinitely :-).

Cheers!

Turned Crackle!

I’ve tried everything else I can think of with the Rhythm Crackle draft. What’s left? Turned Crackle!

Turned Crackle is a one shuttle weave. The warp consists of alternating thick and thin threads. The weft consists of either the thick or the thin thread (your choice, but I prefer the thick). Berta Frey wrote about turning crackle drafts in her book Designing and Drafting for Handweavers. She notes that the treadling draft for classic crackle looks like a threading draft for Summer and Winter. By turning the treadling draft to become the threading draft, we can weave the design using one shuttle instead of two.

I tried two different versions with yarn sizes. The yellow and the orange are 16/2 unmercerized cotton (yellow) and 8/2 unmercerized cotton (light variegated) warps with 16/2 unmercerized cotton weft. By the time I got to the end of the orange one I was ready to tear my hair out. Much too slow! So, for the blue and the green one I used 8/2 unmercerized cotton weft. This time the weaving time was much more acceptable. For all the sett was 24 epi.

Here is the drawdown:

I used my weaving software and applied the “turn draft” function to my Rhythm Crackle drawdown.

These two details show the difference between using a thick weft (blue) and a thin weft (yellow). Besides being faster to weave, the blue just looks better. The yellow looks more honeycombed? (head scratcher there).

Turned Strickler #532

The summer is dwindling and I haven’t been overly busy with projects, but this is one that has been on the back burner for a few months. Started in April ;-). Finally off the loom, and ready for its close-up.

This is from Carol Strickler’s A Weaver’s Book of 8 Shaft Patterns, #532 which is written for Summer and Winter. But, I am not a big fan of two shuttle weaves anymore, and this one as written requires more treadles than I am willing to retie. Converted to a turned draft, you only need one shuttle instead of two. However, if you don’t have a 16 harness loom the convenience factor dips a bit. This particular turned draft requires 14 shafts. I wove it on my Ashford 16 shaft table loom. Another reason it took so long!

I chose 8/2 rayon for the background warp and used up some handpainted 6/2 rayon for the pattern warp. I used the same 8/2 rayon for the weft. I love the 6/2 together with 8/2. It is just a bit thicker, making the pattern stand out just a bit more. If anyone has a source for 6/2 rayon I would be very interested. It is impossible to find.

I am looking to do another turned draft next. Rhythm Crackle as a turned draft seems like an interesting next project!

Rhythm Crackle Variations

The next step in this Crackle journey was to try a lighter weight warp yarn for less “weighty” towels. I chose 16/2 unmercerized cotton for warp, but still sett at 24 epi. I used that for tabby weft and 8/2 unmercerized for pattern weft. I really loved the result! The hand of the towels is great. The weaving time, however, was much longer, which makes sense, since it takes longer to weave finer yarns.

Other changes included three new treadling variations. Because. I soon realized that I couldn’t keep doing the same pattern again and again. Here’s what I came up with:

Treadling variation number 1. Same treadling order as the original pattern, but treadling each block 8 times. This elongates the pattern and makes it more distinct.

Treadling variation number 2. Rhythm Crackle ZigZag #1. Gradually increasing the number of times each block is treadled, then reversing and decreasing.

Treadling variation number 3. Rhythm Crackle ZigZag #2. Same idea with different proportions. (Fun fact: I changed tubes in mid towel with what I thought was the same color yarn. Wrong. The difference is so subtle, I didn’t catch it until I took a photo with my new camera.)

I will figure out how to offer these new variations with my original pattern in my Etsy shop. But for now, I’m working on some turned Summer and Winter drafts, and travel plans are afoot!

Branching Out

I have been hand painting and selling tencel for eons. I started first on eBay, and then moved over to Etsy some years ago. The price of tencel per cone or tube has always been pretty reasonable. Although I’ve had to increase prices every once and a while, sales have been fairly steady for a long time.

Recently, the retail price per tube of Maurice Brassard has jumped dramatically. Like, doubled. I was shocked, and began to think that my tencel sales had come to the end of the road. I managed to snag a dozen tubes from a different supplier than I usually use, so I have a minimal supply for now. But I wondered about different yarns.

Then I looked at my stash of 8/2 rayon. Maybe not replacing, but certainly providing an alternative to tencel. I love working with rayon, and largely I have kept my stash for my own weaving purposes, but now I will be using that stash for a lower cost alternative to tencel for those who want to try something new, or just are feeling the economic pinch.

Hence, my first batch of 8/2 Rayon in my Desert Sage colorway. Now available! (Etsy button to the right of the blog page.)

Hand Painting Tencel (or Cotton or Rayon) [Long]

Fair warning. This is a step by step tutorial on how I typically hand paint my skeins of tencel or rayon chenille or, sometimes, rayon yarn. I had a request from a reader who was frustrated trying to find instructions on hand painting yarns, so I am going to lay it all out. My methods are not complicated and not fancy. I use products that are readily available on line. I pretty much follow a recipe. My results speak for themselves. I sell hand painted yarn on Etsy and have done for quite a few years. My colors are consistent and repeatable. So, here goes.

I buy all my dyes, soda ash, textile detergent and dye fixer from Dharma Trading Co. They have a fabulous print catalog and a great website. They are located here.

I start by winding off 4 ounce skeins of yarn. I usually wind off three at a time, because that’s how much room I have on my painting surface. I use 8/2 Tencel from Maurice Brassard Yarns. (I buy this yarn from the Woolery in Frankfort, KY) It comes in 8 oz. tubes. I put a tube on a digital scale on the floor, and wind from that on to an umbrella swift. The swift is opened up quite wide. My skeins measure roughly 93-94″ around. When the scale says I have wound off 4 ounces I stop and tie the ends together. I also tie the skein in four places (not too tight!) to keep the threads from shifting around too much.

I stop winding when I have three skeins ready to go.

Next I head to the basement. The three skeins now get to soak in a soda ash and water bath for at least an hour. The time is not exact. The soda ash bath sits in a tub in one side of a very large, very old concrete sink.

The Soda Ash Bath. This is needed as a fixer or fixative (makes the dye permanent once it hits the fiber).

The Soda Ash Bath consists of:

1 cup soda ash

1 gallon of hot water

Mix these together in a very large plastic tub, preferably with a lid

This mixture may be used over and over and added to with both water and soda ash as needed.

This is the bath:

When I am ready to paint the yarn skeins, I take them out, squeeze them by hand, and take them to my painting area.

The painting area: I had the good luck to move into an old house with a work bench already in place. I put an old sheet down on the wood surface for padding. I also have some sort of plastic sheeting that the skeins rest directly on. I also cover the skeins with another piece of plastic sheeting after they have been painted so they won’t dry out. I have a shelf to the left with all my dye jars and other supplies.

These are the items that I use to mix dyes and paint them:

Rubber gloves

Plastic squeeze bottles with squeeze tips

Funnel

Old juice pitcher

Water cup with ml markings.

Plastic cup for mixing dye

Plastic measuring spoon(s)

Foam brushes

N95 Mask!

Fiber Reactive Dyes (mine are all from Dharma Trading Co.)

My basic recipe for a dye solution that will be enough for four colors to space-dye-paint six 4-ounce skeins of yarn is as follows:

500 ml. water

1 1/2 tsp. fiber reactive dye

Put on rubber gloves. Put on an N95 mask so you don’t breathe in the dye dust. Mix a small amount of water in a plastic cup with the 1 1/2 tsp. of dye until the dye is dissolved. Mix in a little more water, stirring until the cup is 3/4 full. Pour this dye into the plastic squeeze bottle (using a funnel to make this easier). Keep pouring more water and swirling it around in the mixing cup, then pouring the water into the squeeze bottle until the 500 ml. of water is used up. The plastic mixing cup should be clean of any dye residue. Put a squeeze tip on the bottle, then shake the bottle vigorously. It is now ready for painting.

Water measured out and ready to pour:

Dye mixed in the mixing cup:

Four colors of dye mixed and ready to paint:

I am now ready to paint the wet skeins from the Soda Ash Bath (which, remember, have just been squeezed out).

I then stretch the skeins out on the painting surface.

Painting happens. I squeeze dye on to the skeins in sections, color by color. I push the dye in and paint each color section, then move on to the next one. (6-8 squeezes per color should do it, up to you.)

I blend each color section together with the next. The colors pretty much keep to themselves, i.e., they don’t run together, so no worries on that front. I don’t use thickeners or urea. Then I cover the skeins with a plastic sheet.

You need to leave the skeins as they are for a good 24 hours while they do their thing. Patience is key!

The next day: Rinsing

I take the skeins back to the sink and start rinsing in one of my plastic tubs. Fiber reactive dyes do not “exhaust” like acid dyes on wool, so there will be a lot of dye runoff as you rinse. This is what they look like before the rinsing begins:

I use hot water, rubber gloves, and a work shirt covered by an apron. I do about 5 or 6 tubs full of hot water, squeezing the yarn, then immediately pouring it out. Then I fill the tub with hot water and add 2 cap fulls of Dharma Dyer’s Detergent (or Synthrapol).

Now I go away at least an hour and just let the yarn soak. After a suitable amount of time, I come back and start rinsing again, with multiple tubs of hot water, gradually decreasing the temperature of the water until I get to lukewarm. Watch the rinse water and it will eventually run clear.

At this point I add 1 cap full of Dharma Dye Fixative (increases wash fastness, prevents bleeding) to lukewarm water. This is optional. Let it sit for 15 minutes, then rinse it out. One tub full should do it.

I then squeeze the skeins out by hand and put them in the washing machine for a quick low spin cycle (mine is about 10 minutes). They come out kind of messy, but all you have to do to straighten them is put your hands inside the skein and give it a few quick hard snaps. Then put them on a rack to dry. That will take another 24 hours.

Here are the dried skeins, ready for their closeup:

This is the colorway Iris, a longtime standard in my Etsy shop. I use Dharma Trading colors Aquamarine, Better Blue Green, Lavender, and Ultra Violet. I recommend Dharma for everything dye related. They have a vast array of Fiber Reactive dye colors. You don’t really every have to mix them, just use as is.

I hope this process is easy to understand! Any questions? Leave a comment!